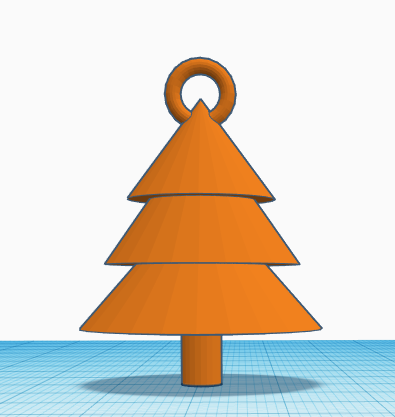
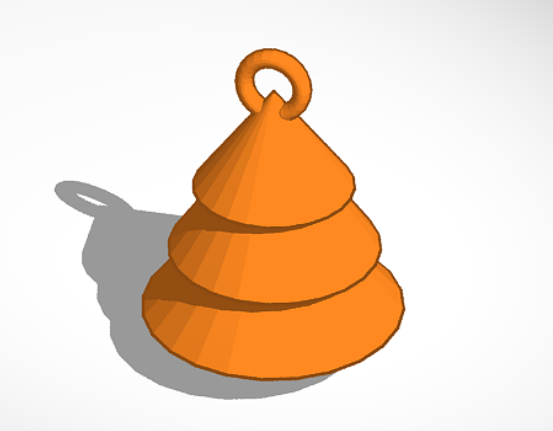
How to make a 3D Christmas Tree
- Insert a Cylinder.
- Grab one of the bottom corners and click into the number box to make each side 4.80.
- Grab the top of the Cylinder and change the height to 12.
- Insert a Cone.
- Grab on of the bottom corners and make each side 30.
- Grab the top of the Cone and make it 17 tall.
- Grab the black triangle above the Cone and lift it up so it is floating 7 above the workplane.
- Grab the Cone and center it on top of the Cylinder.
- Click on the Cone and press cntrl+D to make a second Cone.
- Grab the black triangle above the second Cone and lift it to 15.
- Grab one of the bottom corners of the second Cone and make each side 24.
- Re-center second Cone on top of the first Cone.
- Click on the second Cone and press cntrl+D to make a third cone.
- Grab the black triangle above the third Cone to lift it to 23.
- Grab one of the bottom corners and make each side 18.
- Grab the top of the third Cone and make it 12 tall.
- Re-center the third Cone on top of the second Cone.
- Insert a Torus.
- Grab the double sided arrow above the Torus and rotate it to 90 degrees.
- Grab one of the corners and make it 9 by 3.
- Grab the top of the Torus and make it 9 tall.
- Click on the Torus and in the box that appears on the right, go to Tube, click the number, and change it to 1.9.
- Grab the black triangle above the Torus and lift it to 31.5.
- Center the Torus on top of the third Cone.
- Click and drag to highlight the whole tree and then press cntrl+G to group all of the objects together.
- Congratulations you have just finished designing your very own 3D Christmas Tree keychain!


