How to make a 3D Pumpkin
- Insert a sphere.
- Grab the top and make it 35.00 tall.
- Grab one of the bottom corners and make it 35.00 by 30.00.
- Hit Control+D and make two copies.
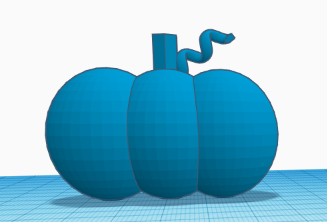
- Overlap the three oblong spheres to make a pumpkin shape.
- Insert a polygon.
- Grab the top point and make it 15.00 tall.
- Grab one of the bottom corners and make it 7.00 by 5.66.
- Grab the black triangular shape above the polygon and adjust the height.
- Place the polygon into the top of the middle sphere and adjust it to the exact height that you want the stem of the pumpkin to be.
- Click on the basic shapes drop down and select Featured.
- Insert a spring.
- Grab the top point and make it 19.50 tall.
- Grab one of the bottom corners and make it 5.00 by 6.24.
- Grab the triangular shape above the polygon and adjust the height.
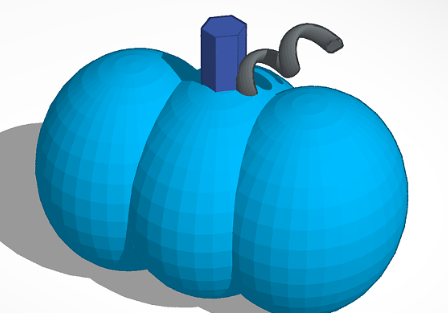
- Place the spring next to the stem in the top of the pumpkin.
- Click on the double sided arrow above the spring and rotate the spring to the angle you want.
- Adjust the spring to the exact height that you want.
- Make adjustments to any of the objects if needed.
- Click and drag to highlight your pumpkin and hit Control+G to group all of the objects together.
Congratulations you have just finished designing your very own 3D pumpkin.